
How To Paint a KitchenAid Mixer a New Color Apartment Therapy Teal
I let my mixer dry overnight and then sprayed on some polyurethane, sanding lightly between each coat. Each product is slightly different, so be sure to follow the instructions TO THE LETTER! These things matter! After the final coat of poly (I did probably 4 ish coats) I let it dry and cure for several days.

KitchenAid KSM150PSWH Artisan Series 5Qt. Stand Mixer Review
🎤Join me LIVE on Amazon every Thursday 9PM EST and Friday at 1 PM EST https://www.amazon.com/shop/athomewithnikki Do you dream of turning your love for orga.

KitchenAid 5 Quart Stand Mixer KSM150PSGR Abt
As you paint be sure to follow the two most important rules in spray painting. 1) Keep the can moving. 2) Keep the coats light. A light coat will dry in 10-15 minutes so be patient and keep layering until you have a solid color. Let dry for at least 24hrs before moving on to the next step.

PAINTING YOUR KITCHENAID MIXER Kitchen aid mixer, Kitchen aid, Mixer
Step 2: Clean the Whole KitchenAid. Next you want to make sure your mixer is completely cleaned of any grime and grease before painting. I wiped the whole mixer down with a baby wipe. You could use a very lightly soapy paper towel too. This just gets the greasier spots off.

Redo your KitchenAid mixer for the cost of 2 cans of spray paint. No
Allow the mixer to dry for 24 hours before moving to the next step. Again using 400 grit sand paper, gently remove any build up from the primer to ensure a smooth finish. Then wipe the mixer to remove any dust. In a well-vented area, coat the mixer with your chosen colored spray paint. Add 2-3 coats according to the directions on the can.
How to Paint a KitchenAid Mixer At Home On The Prairie
1. Personal Experience: Painting A KitchenAid Stand Mixer. Personalizing our kitchen appliances can be a fun and creative way to bring a unique touch to our living spaces. Recently, I decided to embark on a project of painting my trusty KitchenAid stand mixer to match the aesthetics of my kitchen. This article will guide you through the step-by-step process, highlighting the challenges and.

Completion of Ree's design. Custom painted to reflect her previous book
Follow these steps to successfully paint your KitchenAid stand mixer: 1. Disassemble the Mixer. Use a screwdriver to remove any accessories and attachments like beaters, the bowl, or splash guard. Remove knobs and the speed control lever if possible. Place all removed pieces on your plastic sheet. 2.

How To Paint a KitchenAid Mixer a New Color Kitchen aid mixer
Learn how easy it is to makeover your KitchenAid Mixer in just a few simple steps!The following links are affiliate links, which means I may receive a commis.

spray painting kitchenaid mixer Sabra Littlejohn
Learn how to paint a KitchenAid mixer in just a few easy steps to transform it from boring, into a beautiful staple piece for your kitchen.Blog Post: https:/.

How to Paint a KitchenAid Mixer Kitchen aid, Kitchen aid mixer
Current Interior Design Trend: Velvet. Velvet isn't just for Victorians, y'all. It's true! Velvet is actually making a huge comeback in the interior design world and I am totally okay…. Dwell Beautiful shows you how to change the color of your KitchenAid mixer by repainting it! It's easier to makeover your KitchenAid than you think!

How To Paint a KitchenAid Mixer a New Color Apartment Therapy Kitchen
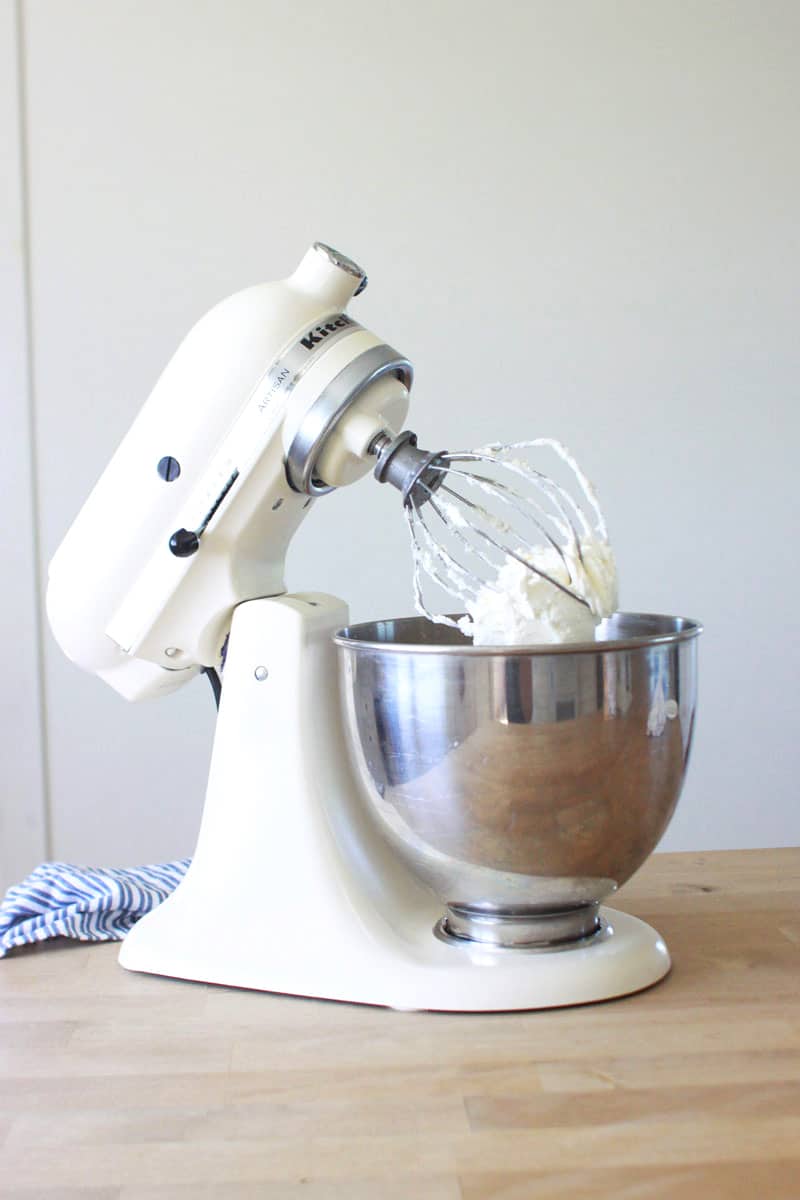
This first thing I did was paint my old Kitchen Aid mixer. This mixer is over 30 years old and works like a champ. My parents got it as a wedding present and it reminds me of my childhood. Then my mom got an awesome, huge, sturdy Viking mixer and it went into storage. I rediscovered it when I got an apartment in college and it became my mixer.

Paint your old KitchenAid mixer to freshen it up and give it a new look
Clean the mixer: Clean the surface of your mixer with the rubbing alcohol and a microfiber cloth to remove any oil, dirt, or stuck on gunk. Dry thoroughly. Remove the back plate: This back piece has vents and you don't want paint getting through the holes and messing with the electrical pieces.
KitchenAid Professional 5 Quart Mixer 199.99 Shipped (Reg.399.99
Apply Primer: Shake the can of primer thoroughly before use. Holding the can approximately 8-12 inches away from the mixer, apply a light, even coat of primer. Be sure to cover the entire surface, moving the can in a steady back-and-forth motion. Allow the primer to dry according to the manufacturer's instructions.

Copper Spray Painted Kitchenaid Mixer Savvy Apron
Choose your first piece* (see note) and set it in the middle of your cardboard. Do a little test spray to make sure it comes out well. Position your spray paint about 8-12 inches away, then start spraying to the side of the KitchenAid piece before moving to the piece itself.

How to Paint a KitchenAid Mixer Kitchen aid mixer decal, Kitchen aid
Cover any other knobs and screws that aren't easily removable. Use a utility knife to cut around areas to give you clean lines for a clean finish. 5. Remove the attachment knob and set it in a safe place, and cover the attachment hub so that no paint gets inside. 6.

HOW TO PAINT YOUR KITCHENAID MIXER YouTube
WELLLLLL, the answer is a resounding YES YES YESSSS you bet your bippy that you can! 🙂 For real, with some sandpaper, elbow grease and a few cans of Colorshot spray paint, you can 100% transform your Kitchenaid mixer to a more colorful and happy appliance on your kitchen counter! 🙂
