
Passionately Raw! Marinated Raw Pumpkin Salad
When Canning Pumpkin Makes Sense. Understanding the basics of canning is an essential skill for every homesteader. It provides a way to preserve seasonal foods you have worked hard to raise and grow, like safely canning raw meat or lining your pantry shelf with canned pickles and plum jelly.. Even if you don't grow a year's worth of food, you can still can healthy convenience foods such as.

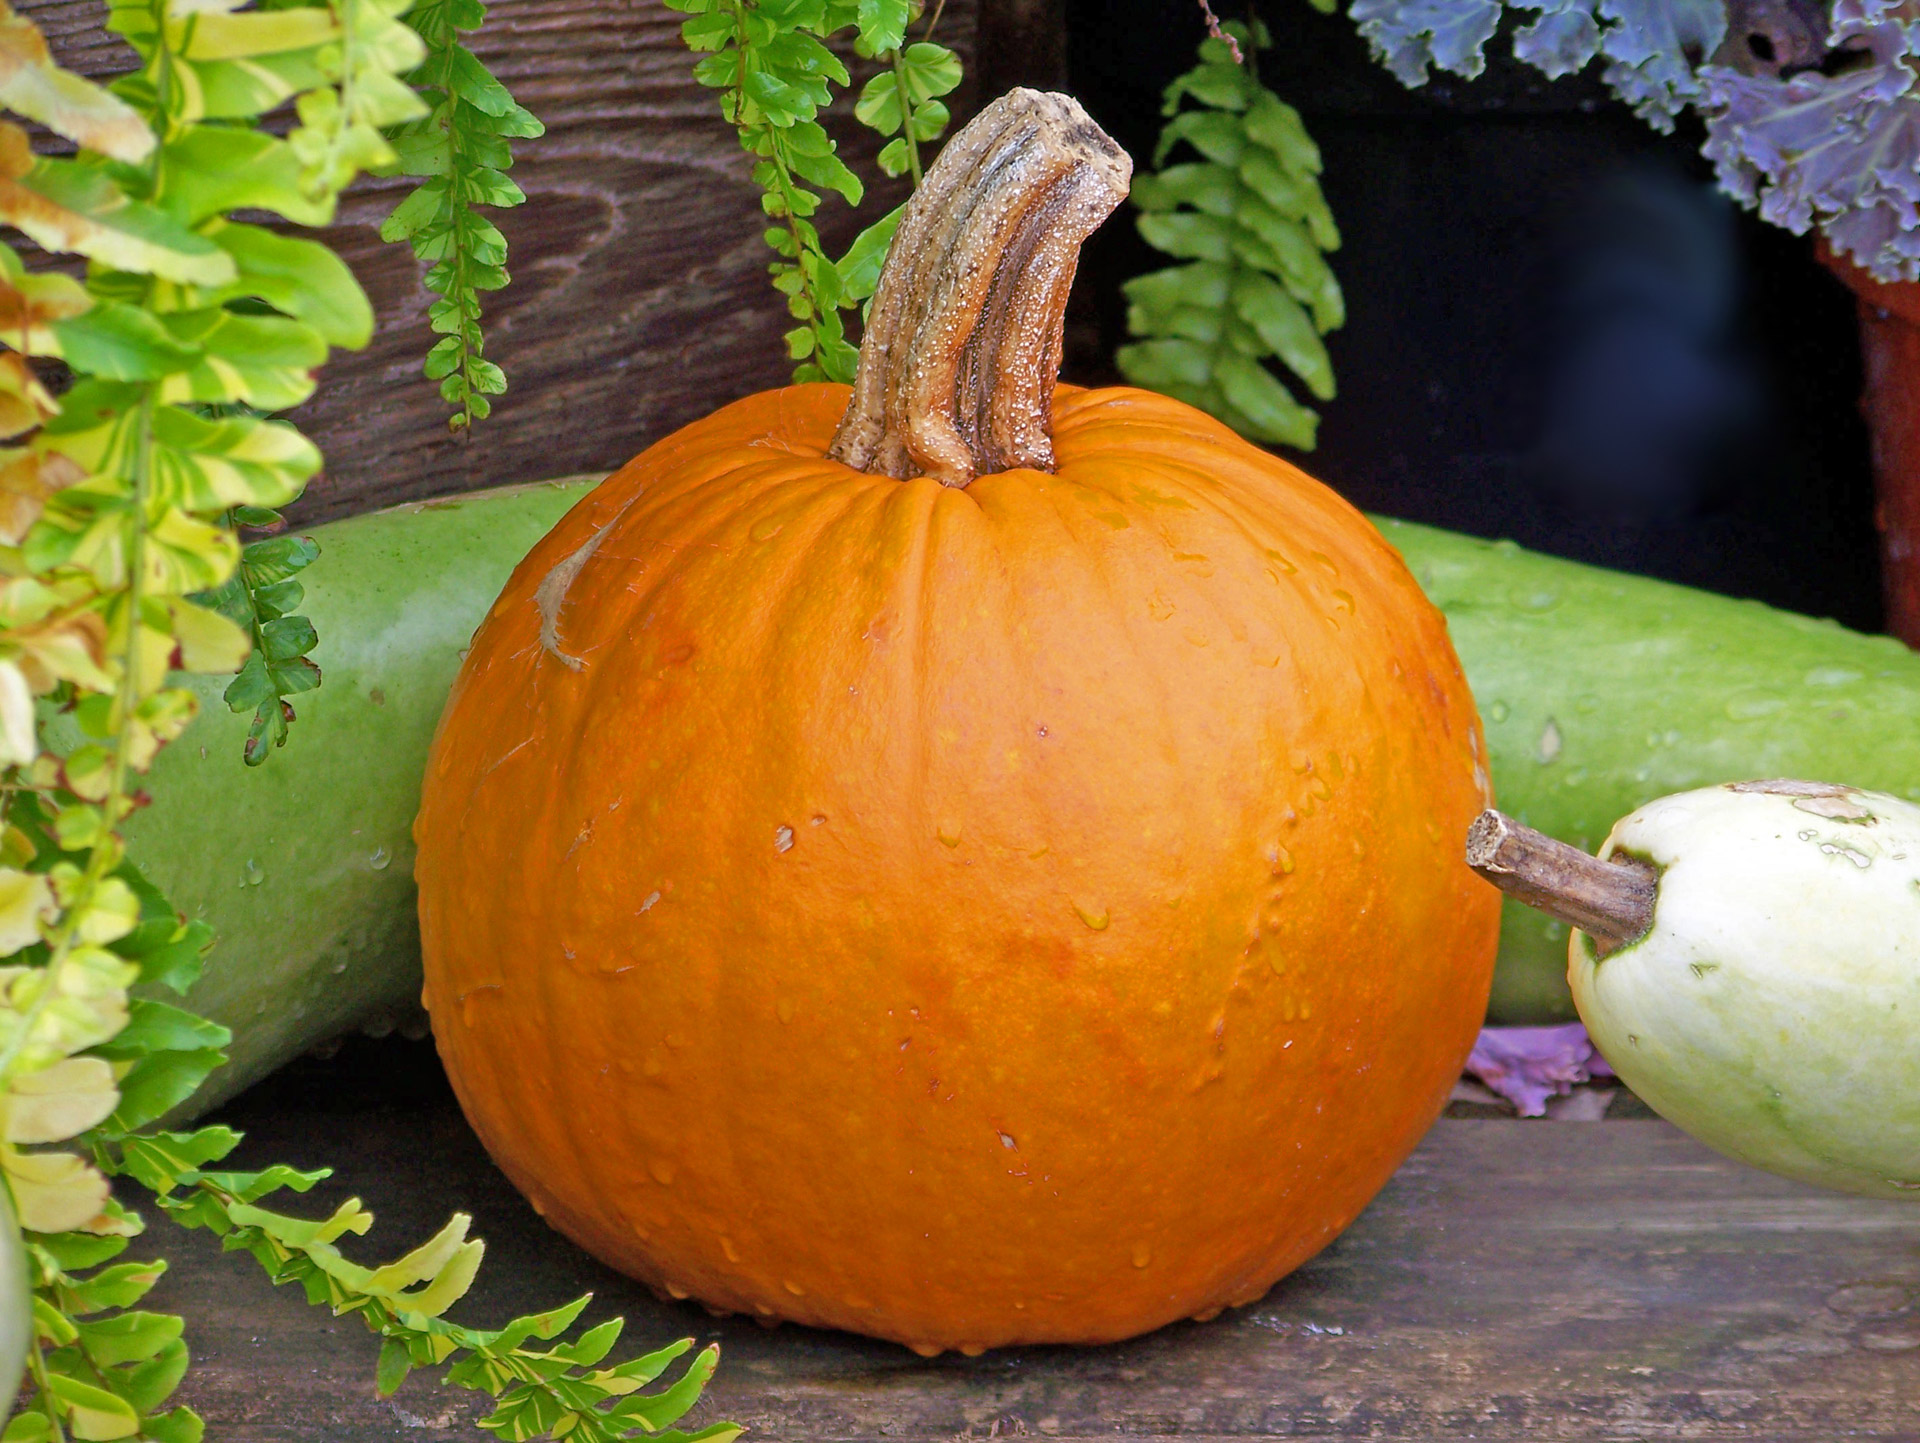
FilePumpkin with stalk.jpg Wikimedia Commons
Step. 6 Dump the pureed goodness into a bowl, and continue pureeing until all the pumpkin is done. Step. 7 You can either use this immediately in whatever pumpkin recipe you'd like or store it in the freezer for later use. Step. 8 To store in the freezer, spoon about 1 cupful of pumpkin into each plastic storage bag.
Pumpkin Free Stock Photo Public Domain Pictures
Put it in a microwaveable bowl. Remove the stem, and put the pumpkin into a microwaveable. You may need to cut the pumpkin further to make it fit. The fewer the number of pieces, the easier it will to scoop out the cooked pumpkin afterwards. Put a couple of inches of water in the bowl, cover it, and put in the microwave.

Pumpkin Free Stock Photo Public Domain Pictures
Bring two pots of water to a boil. In one of the pots, add the pumpkin in batches and cook for 2 minutes. 10 cups water. Using a slotted spoon, remove the pumpkin and put them into warm and sanitized canning jars. Add 3 quarts of water to your pressure canner and put it on a burner set to high.
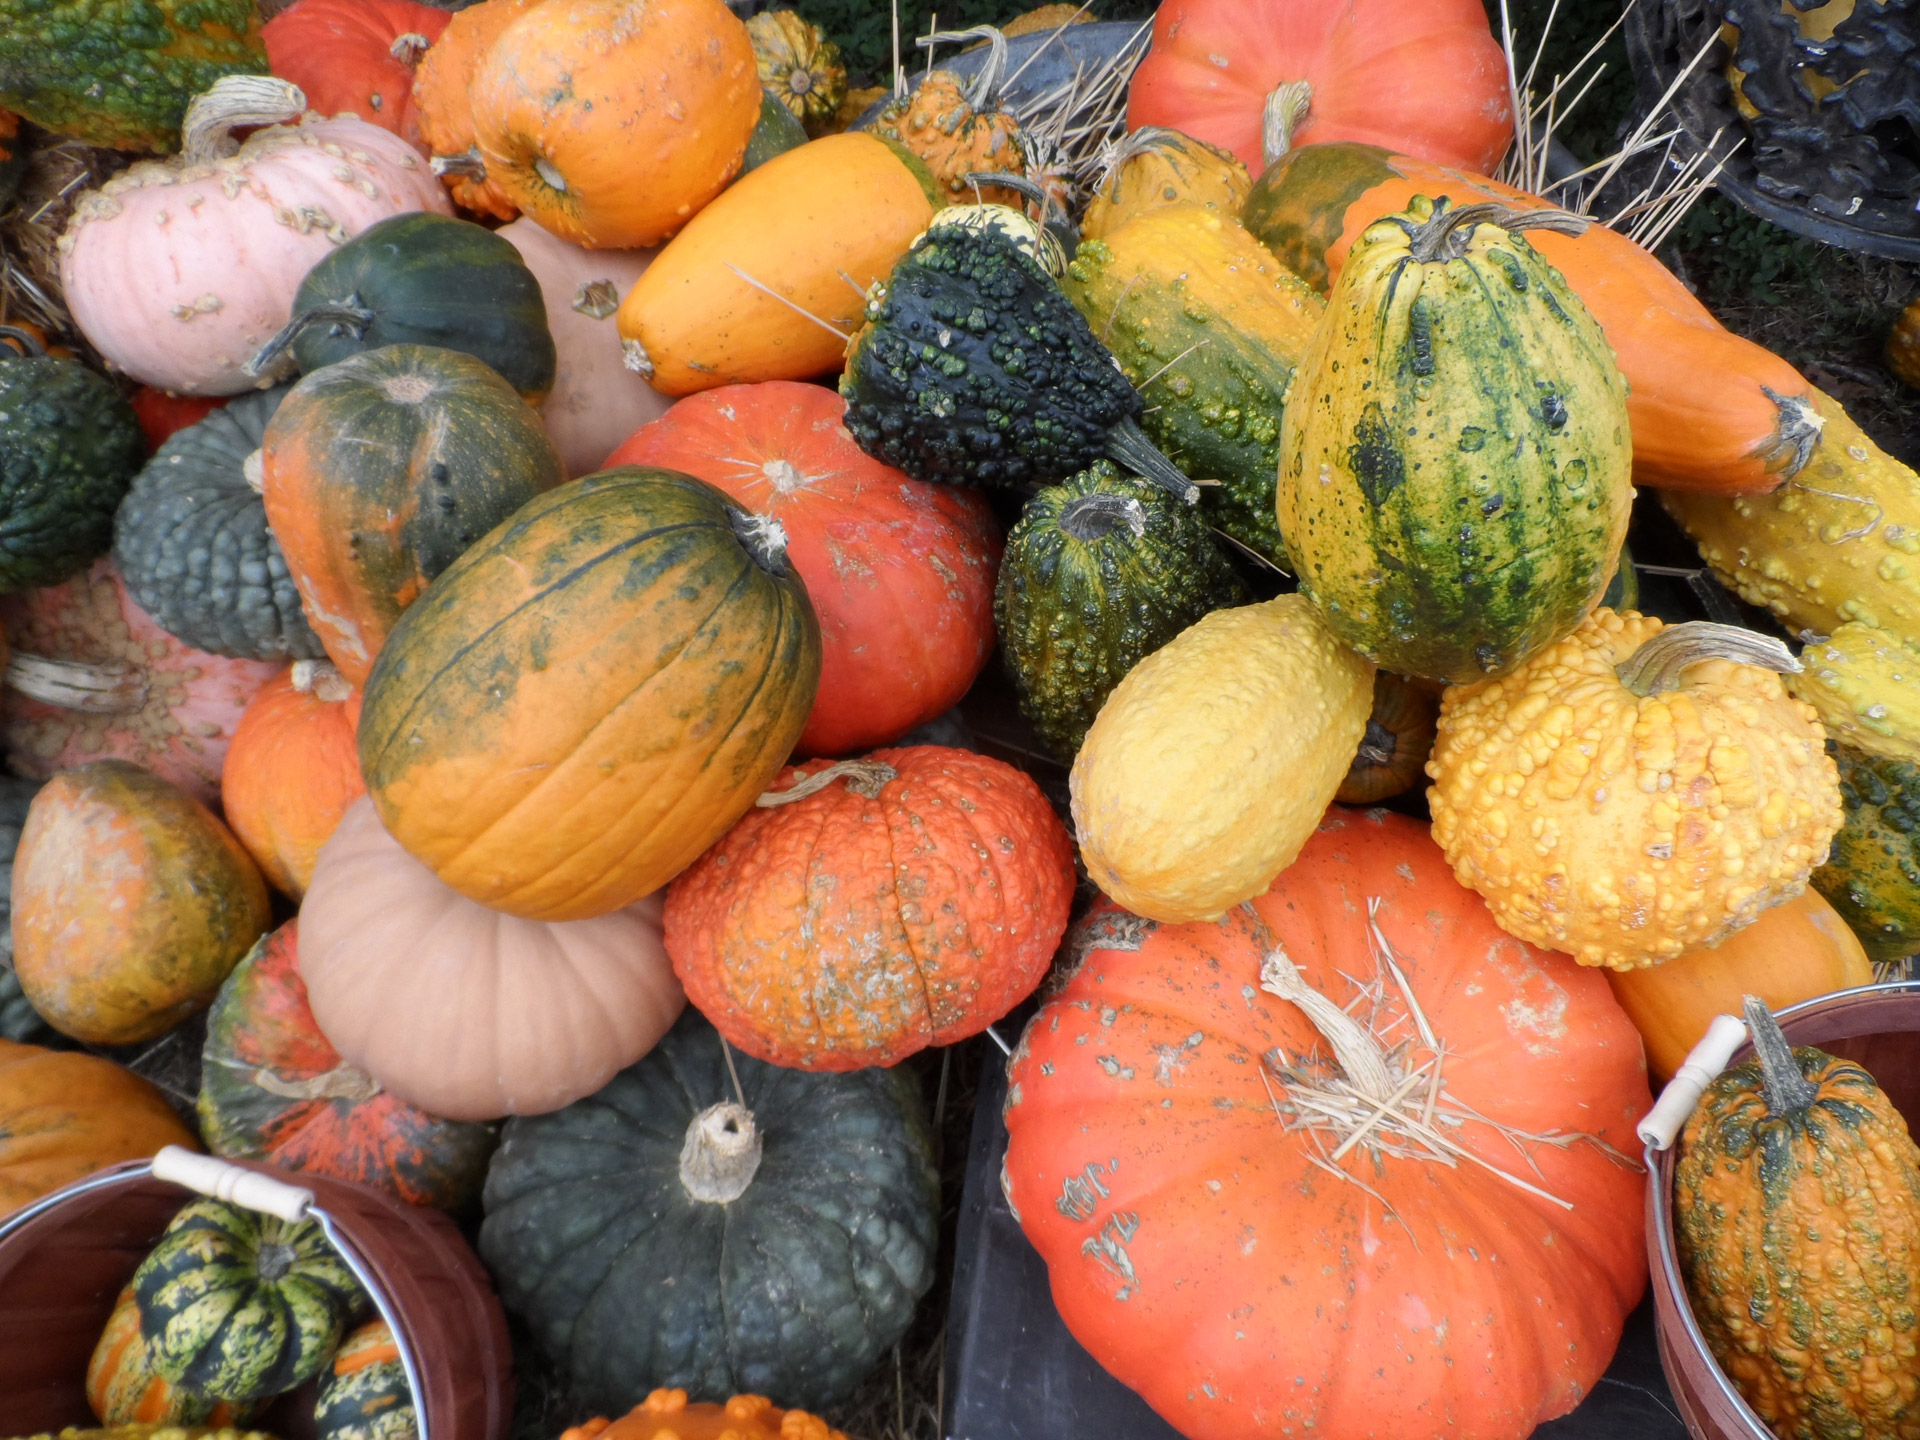
The Pumpkin and Its Many Benefits
Blanch pumpkins boiling water for 2-minutes. Using a slotted spoon add pumpkins to quart size Mason jars, leaving a 1-inch head space. Add a pinch of salt, optional. Add clean boiled water, leaving a 1-inch head space. Wipe rims of jars, add lids and rings, place jars into pressure canner.
Canning Granny Canning Pumpkin
Basic Pressure Canning Instructions for Canning Pumpkin and Squash. Raw pack cubes into clean jars leaving a generous 1" headspace. Ladle hot water atop cubes and fill to a generous 1" headspace. Wipe jar rims with a warm wash cloth dipped in vinegar. Place prepared lids and rings on each jar and hand tighten.
Pumpkin Free Stock Photo Public Domain Pictures
How to Sterilize Jars and Lids: 2. While pumpkin is cooking, preheat the oven to a 215°F. Wash jars and lids with a warm soapy water. Place the jars into the oven on the center rack upside down and dry them for 20 mins or until completely dry (20 mins always works for me). Boil lids in a medium pot for 4-5 mins.

How To Can Pumpkin A Ranch Mom
Fill the pressure canner with 4 inches of hot tap water. Place it on the stove over low heat with the lid off. Begin filling the hot jars with the hot pumpkin cubes. If you want to use salt, add 1 tsp per quart or ½ tsp per pint. Fill the jars with boiling water, leaving one inch of headspace.
Pumpkin Free Stock Photo Public Domain Pictures
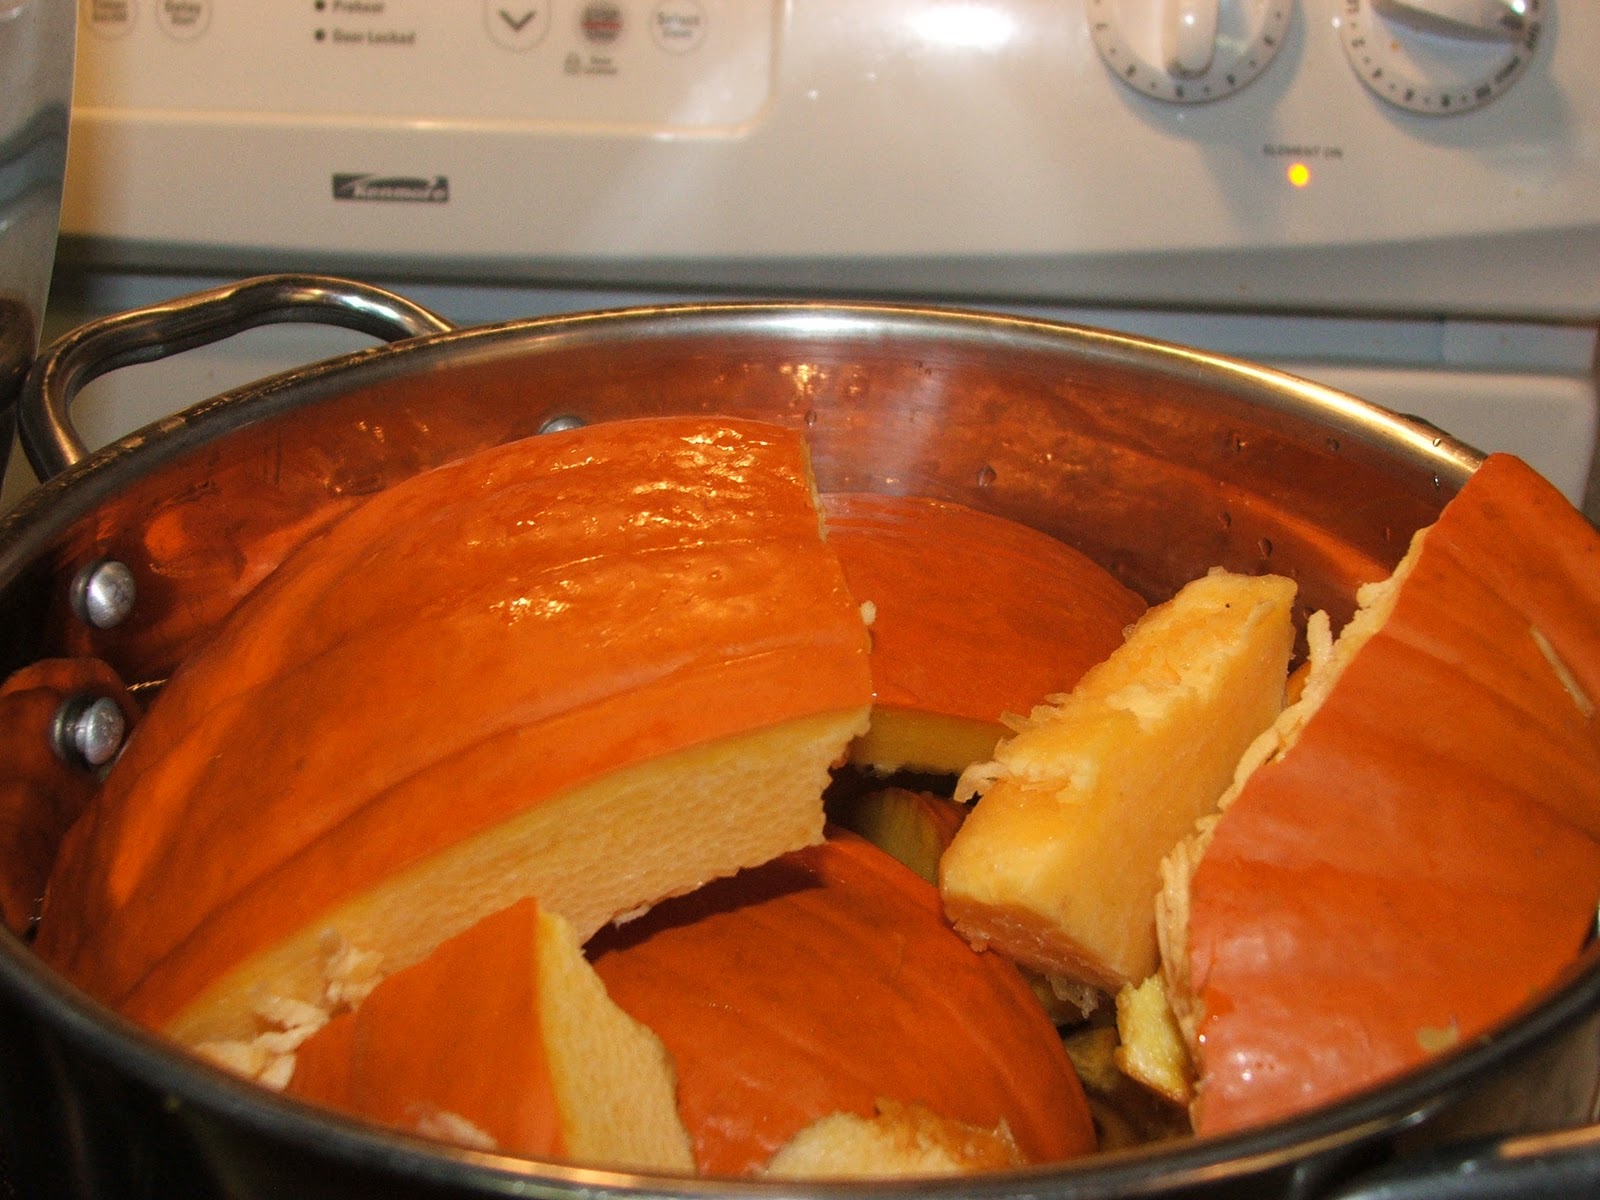
Fill pressure canner with 2-3 inches of water and wash jars and bands in hot, soapy water. Prepare pumpkin. Slice in half and scoop out the insides (seeds and "guts").Cut off the stem and blossom ends. Slice each half into 4 to 8 slices depending on the size of the pumpkin.

This Rawsome Vegan Life raw pumpkin pie
Put it in a microwaveable bowl. Remove the stem, and put the pumpkin into a microwaveable. You may need to cut the pumpkin further to make it fit. The fewer the number of pieces, the easier it will to scoop out the cooked pumpkin afterwards. Put a couple of inches of water in the bowl, cover it, and put in the microwave.

how to make fresh pumpkin purée recipe Pamela Salzman & Recipes
Lock the lid - Lock your pressure canner lid and allow steam to vent for 10-15 minutes. Once the steam stops, add the pressure regulator and watch for the vent to pop up. Process the jars - Process your canned pumpkin at 11 pounds of pressure. If you are using pints, process them for 55 minutes, or quarts for 90 minutes.
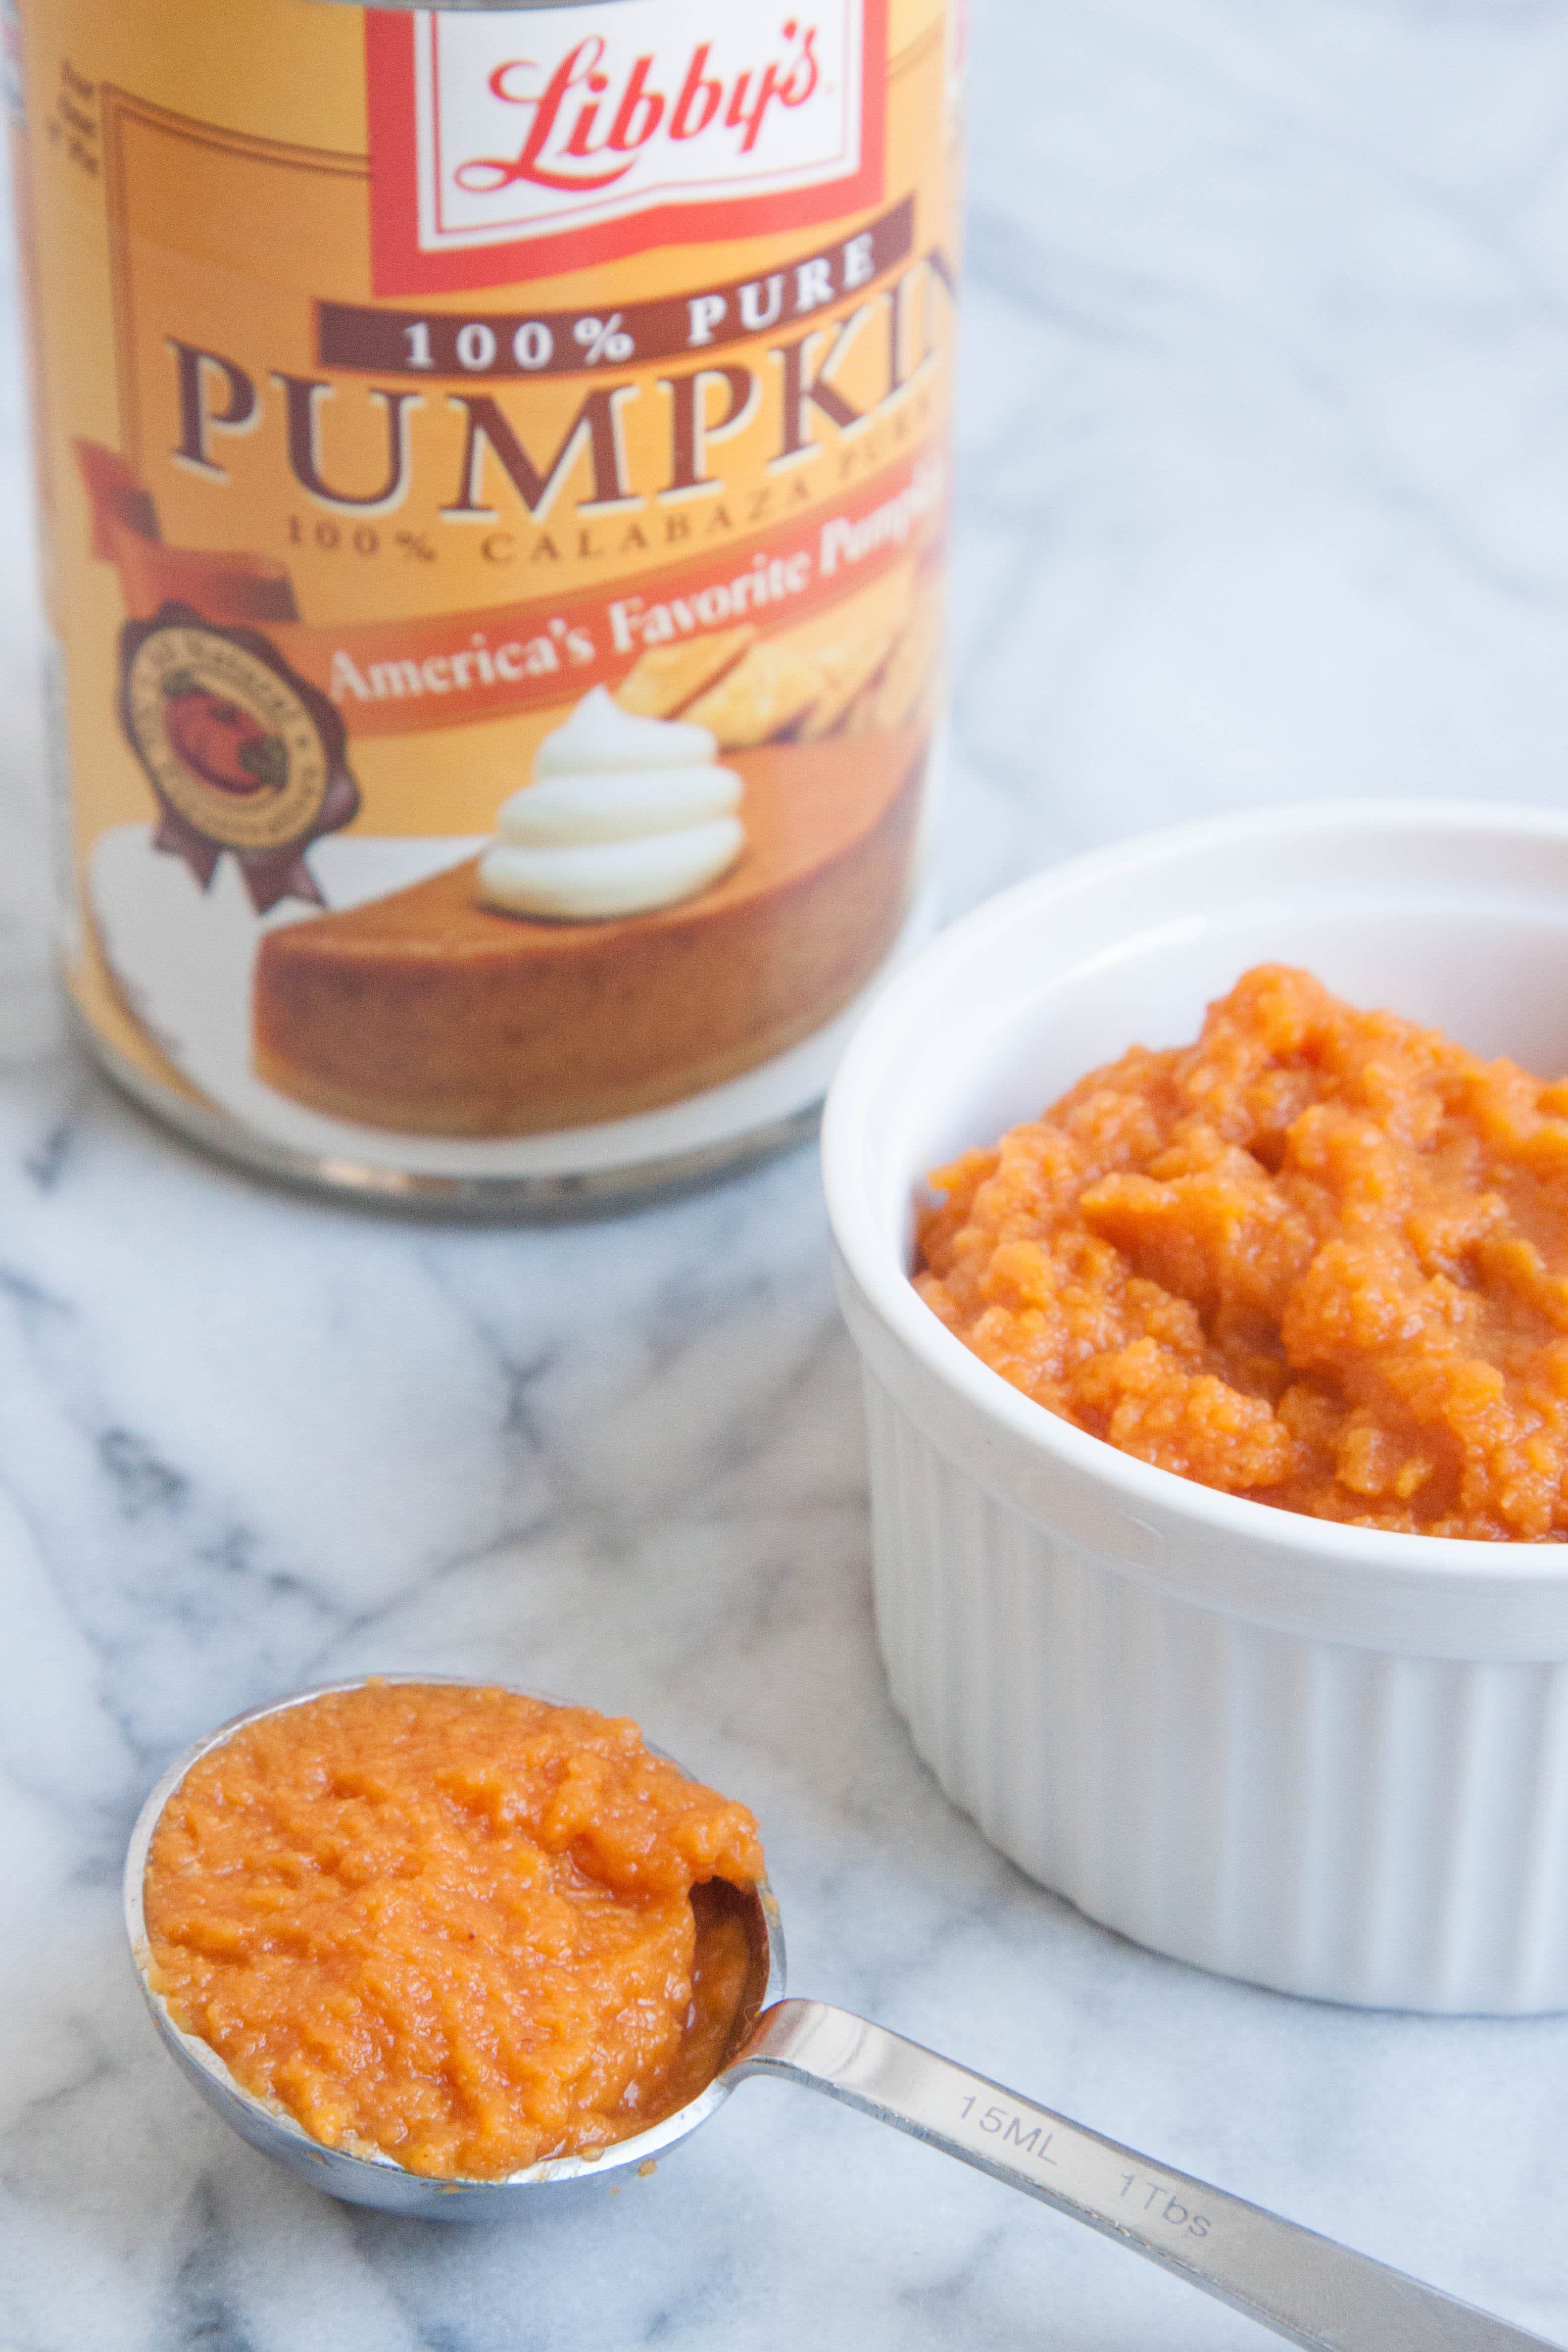
Here's What's Actually in Your Canned Pumpkin Purée Kitchn
Place your pot on the stove and bring the water to a boil. Once the water is boiling, let the pumpkin cook for 2 minutes. Then turn the heat off and remove the pot from the burner. Step three - pack the jars. Wash your jars, lids and rings with hot water and dish soap (there is no need to sanitize them).

Canning Granny Canning Pumpkin
Place your canning funnel on the jar. Use a strainer ladle and strain pumpkin before placing to jar (without water from boiling pumpkin) Fill the jars, leaving 1" headspace. Add hot water to hot jars and remove air bubbles. Clean the top of the jar and place the seal and band on the jar and finger tighten.

What Is Pumpkin? You Can Enjoy It YearRound — Eat This Not That
Use a paring knife to slice the peel off each cube (or peel the 1inch slices before chopping into cubes). Prepare a pressure canner and canning jars. Bring water to a boil in a large stockpot. Add the pumpkin to the boiling water and cook 2 minutes, until heated through.

Don’t let those delicious little pumpkin seeds in your pumpkins you
Hot pack only. Seed and peel pumpkin, then cut into 1" cubes. Place cubes in large stockpot, add water and bring to a boil for 2 minutes. Fill jar with pumpkin cubes. Add salt (1/2 tsp. per pint or 1 tsp. per quart) if desired. Fill jar with cooking water, leaving 1"headspace.
Pumpkin Free Stock Photo Public Domain Pictures
Plain pumpkin and winter squash can be canned. They are great for quick pies and quick tasty side dishes of squash mash. A pressure canner is required. Search.. as a very rough guideline, expect to need about 1 kg (2 ¼ lbs) of fresh, unpeeled squash per 1 litre (US quart) jar of canned squash. 7 kg (16 lb) of squash = 7 litres (US quarts.
