
Where Is Darren Now? Hold The Bottle, I'll Have Mine In A Bag
Step #2 - Add water to the baggie. Next, add about 2 inches of water to the bag. The exact amount isn't important, so there is no need to measure it. Then, add a few drops of blue food coloring to the water. The food coloring makes it easier to see the water move through the water cycle, but it's not absolutely necessary either.

Survival Tip Boiling water in a plastic bag YouTube
Fill a cup with water and add a few drops of blue food coloring. 3. Pour the blue-colored water into the bag and zip it tightly so no water escapes. 4. Using some clear tape, hang the bag outside or on a sunny window. 5. Check the bag after a couple of hours. You can also check again the next day.
10L Folding Water Bag Prime Depot
Help your budding scientist observe one of nature's most intriguing phenomena and make rain by recreating the water cycle in a bag. This experiment lets young learners explore the water cycle long before they can define the words precipitation, evaporation, and condensation. They'll delight in watching the "clouds" form and "rain.
Rain water in a bag? r/ofcoursethatsathing
Procedure: 1. Use your permanent marker to draw a sky with clouds and a sun towards the top of your bag. 2. Add some water so that it forms a body of water at the bottom of your bag. Add food coloring now, if using. 3. Seal your bag and hang or place it on or near a sunny window. 4.
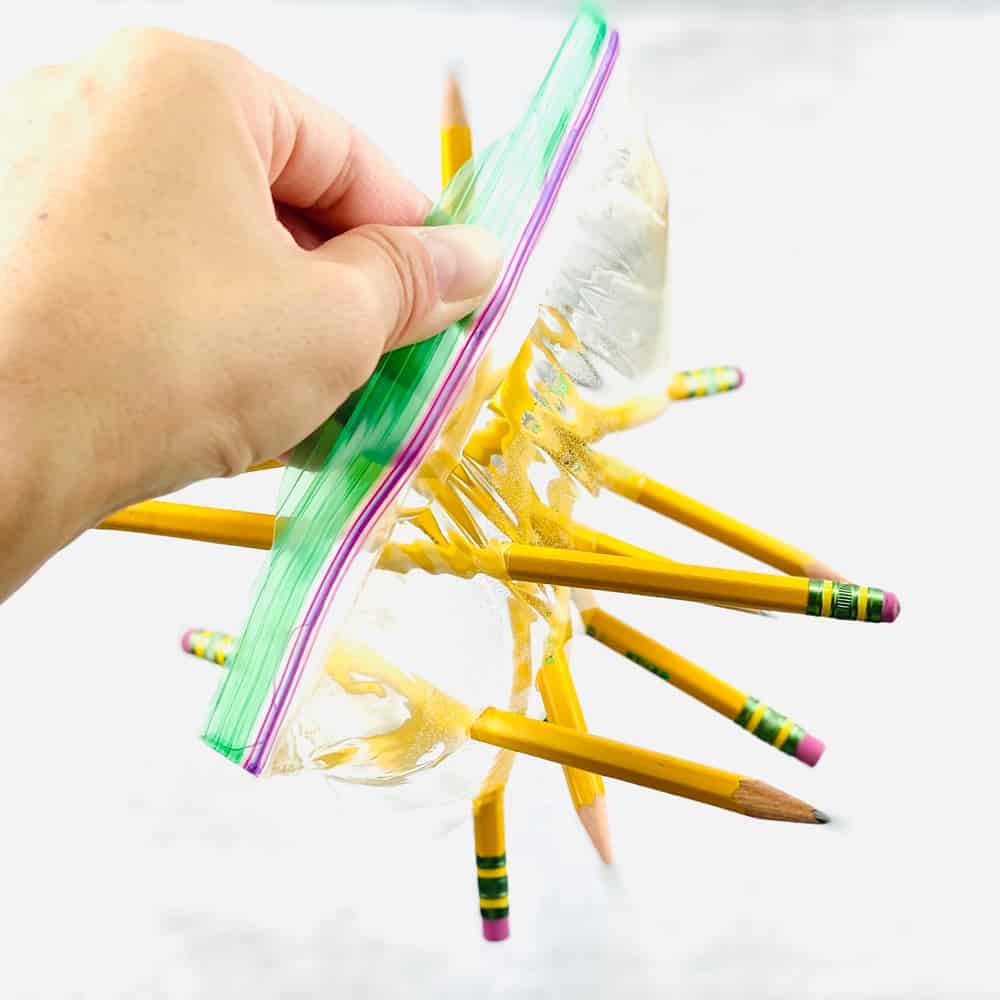
PENCIL IN WATER BAG EXPERIMENT hello, Wonderful
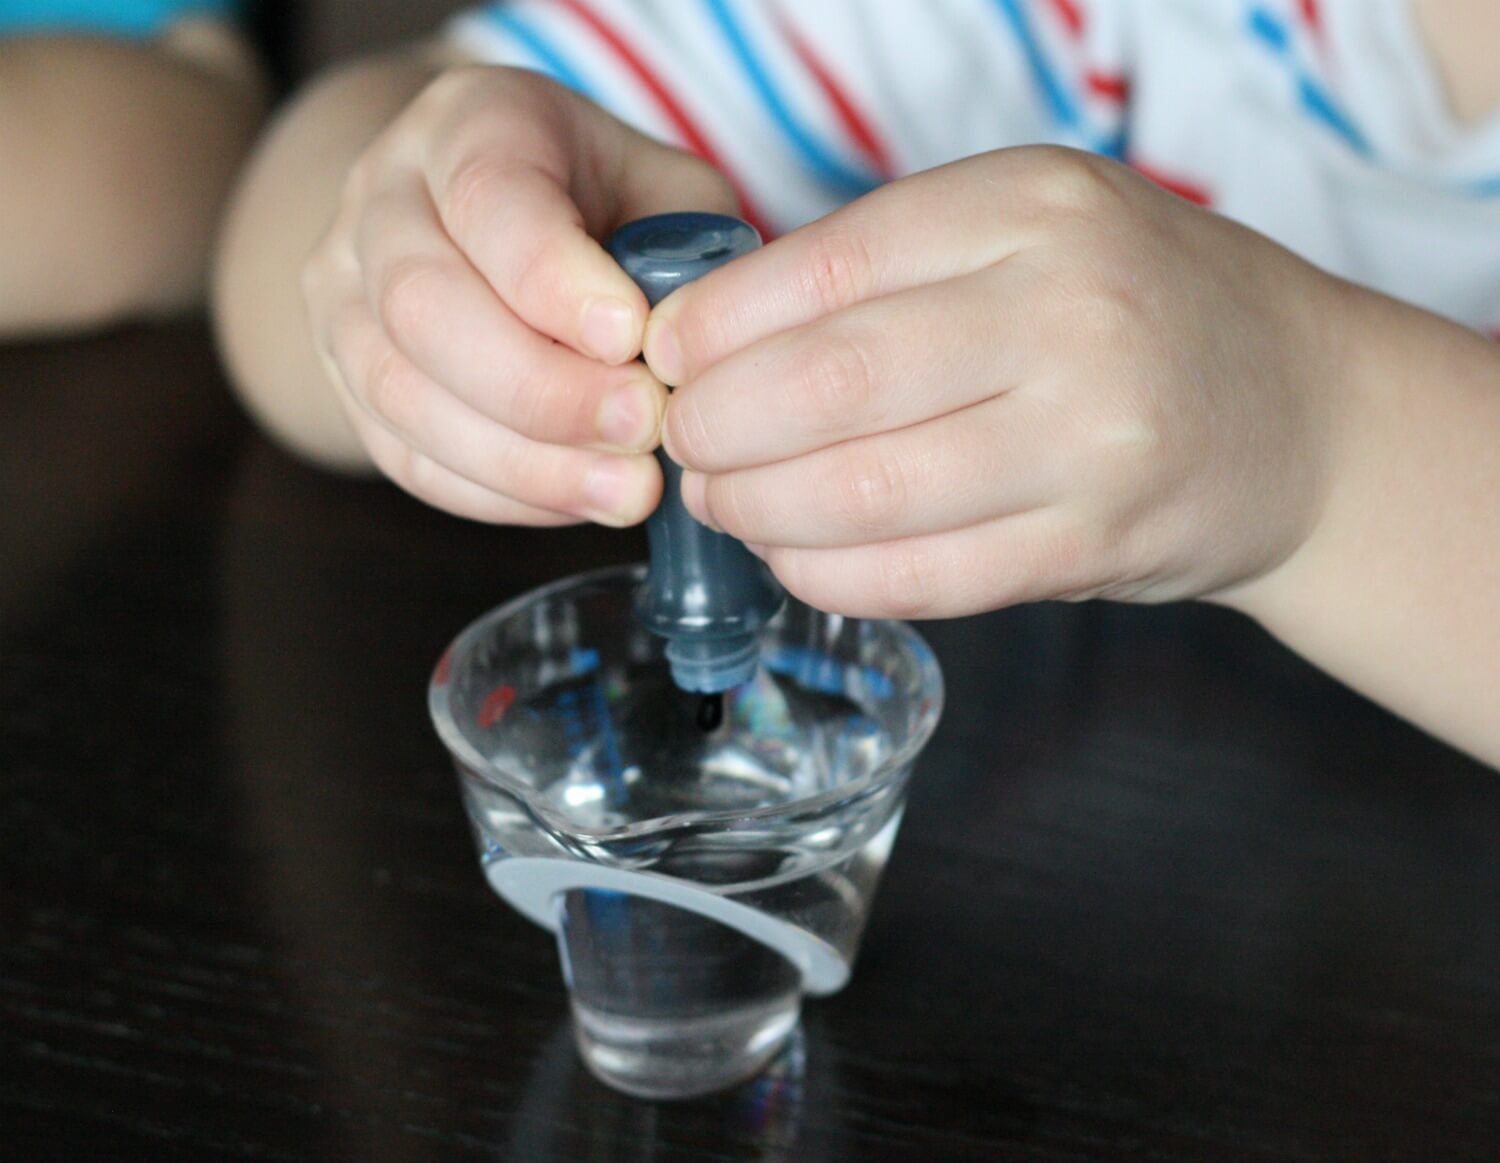
Water Cycle in a Bag. Big Brother carefully unscrewed the lid to the food coloring and squeezed four big drops into the water. Then, Middle Brother slowly poured the now blue water into the Ziploc while Big Brother held it open for him. Big Brother ran his fingers along the seal several times to make sure it was closed tight and then passed the.
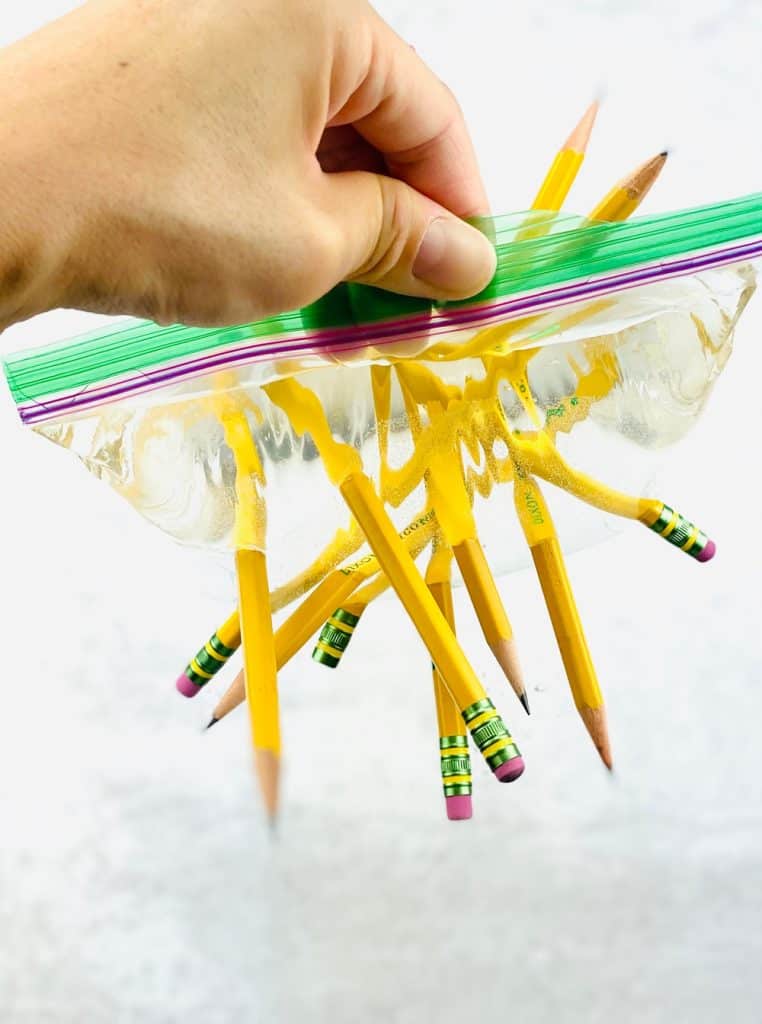
PENCIL IN WATER BAG EXPERIMENT Hello Wonderful
1. Put some water in a container and add a teaspoon of blue food colouring. 2. Mix well. 3. Take the sealable sandwich bag and draw a sun, some clouds, sea and a bit of land with trees etc.
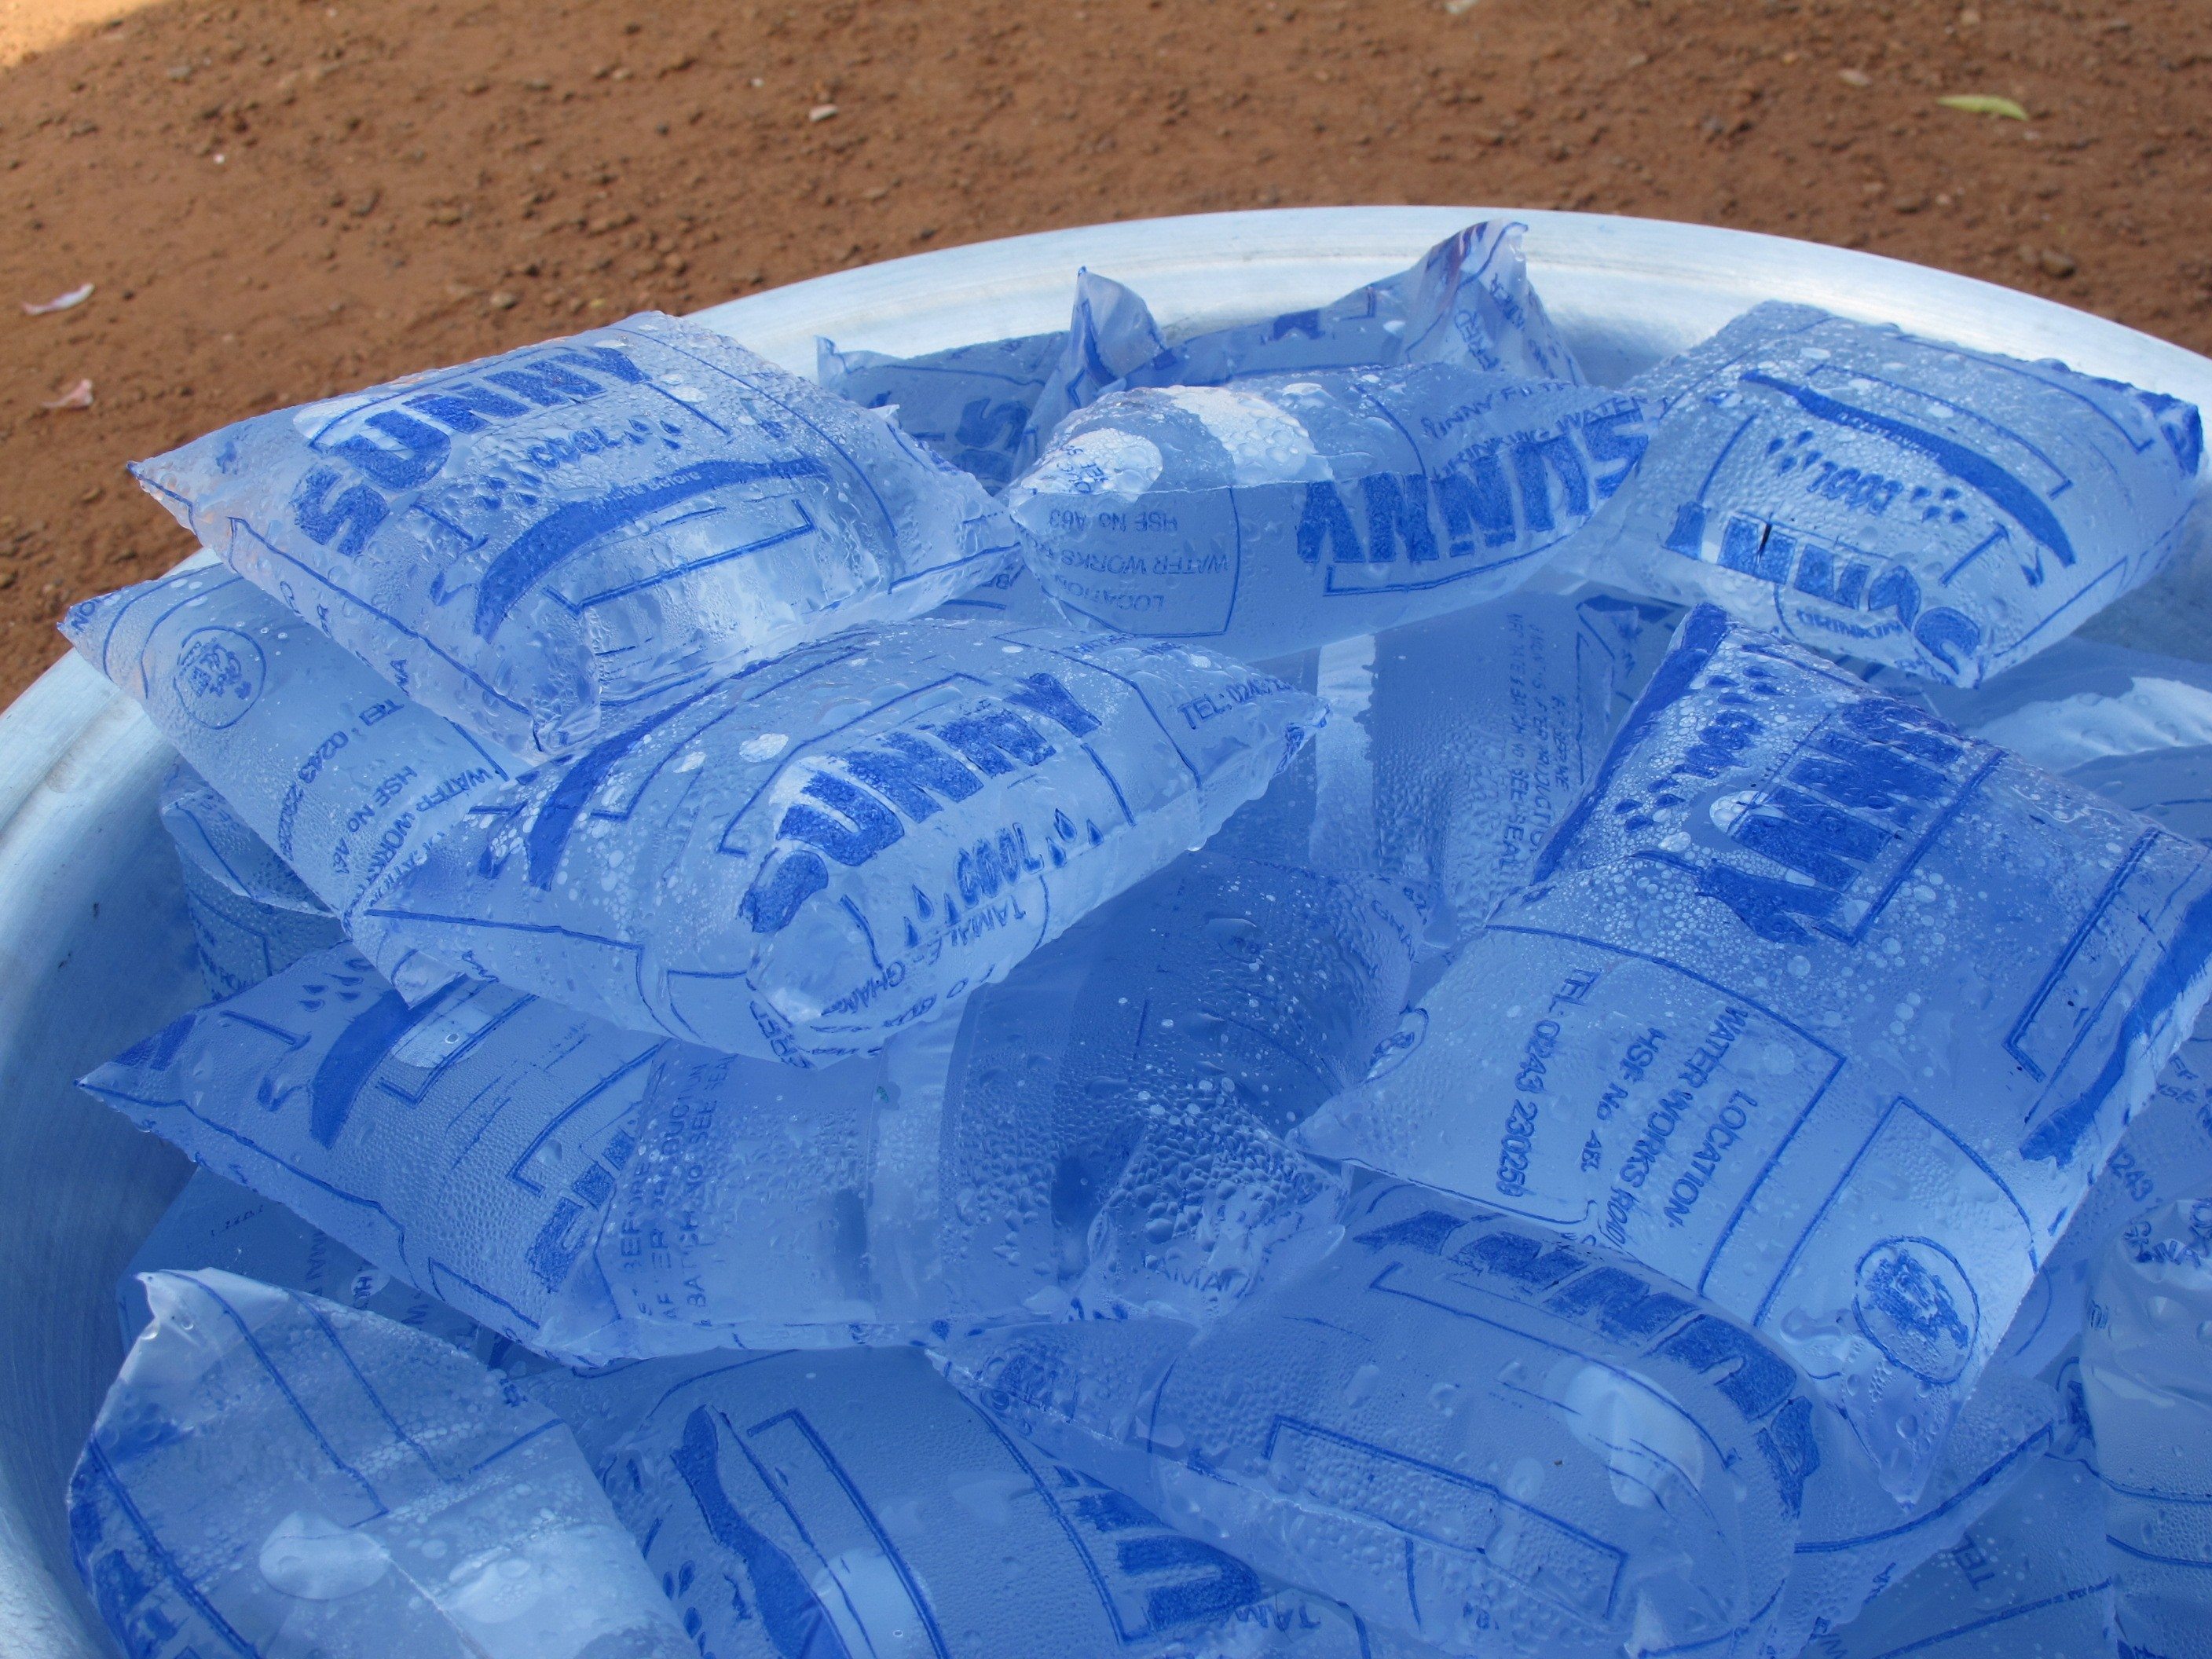
Price of Sachet Water Across Nigeria Shoots Up Due To Naira Fall
Next, fill the bag with water just to the water line, and add blue food coloring if you wish, again this gives the impression of water and helps kids see the process a bit better. Seal your bag well and tape off the top. Find a sunny window in the house to hang your bag in, be sure it is secure.
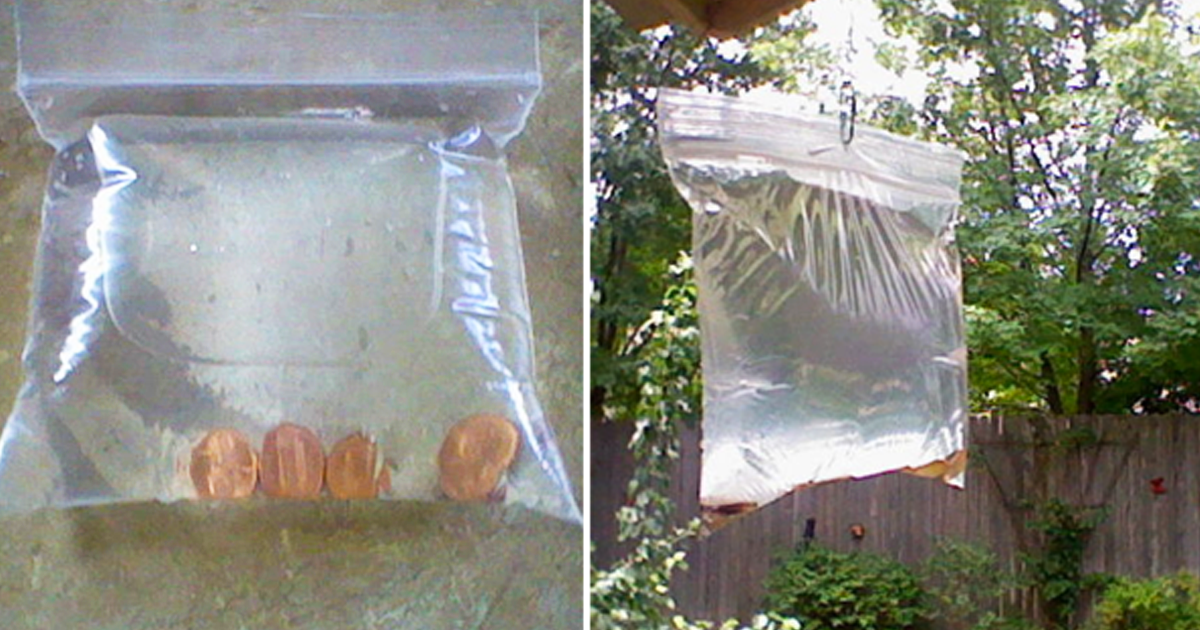
She Keeps Pennies In A WaterFilled Bag On Her Porch… The Reason? This
This Water Cycle in a bag experiment is a fantastic way for children to explore this science topic in a fun way. By completing this experiment, they'll learn how the Water Cycle works in miniature form. In the bag, they'll see how evaporation, condensation, precipitation and collection all work together to form the Water Cycle. This is a great activity for visual and hands-on learners — they.

Bag in Box Water Photo Gallery
A simple & easy way to review the concepts of the Water Cycle (Precipitation, Evaporation, Condensation, Collection) using everyday household materials. Ma.

Loverbugs Mommy POKE PENCILS THROUGH A PLASTIC BAG OF WATER TRICK!!!!
Step 3: Prepare the Water. Next, fill a cup with regular tap water. Then add a couple of drops of blue food coloring to it to make it stand out. Swirl the cup of water a few times to mix the coloring until it's a nice, solid blue. Now, carefully pour the water into the plastic bag and zip it closed.
Dropshipping Supported 1 PC 2L Foldable Water Bag BPA free Camping
STEP 2: Cut the water cycle diagram out and tape it to the back of a zip top plastic bag. STEP 3: Mix 1/4 cup of water with 2 drops of blue food coloring and pour into the bag and seal. STEP 3: Tape the bag to a sunny window and wait. STEP 4: Check your bag in the morning, mid day, and again at night and record what you see.
Water Cycle in a Bag Playdough To Plato
1. Take a sealable, waterproof bag and use a marker to draw water, clouds and the sun. 2. Fill a jug with some water and add blue food colouring. 3. Pour the water in the bag and make sure it's fully sealed so it won't leak. 4. Use some strong sticky tape to stick the bag on a sunny window. 5.

Water in a bag globetrottergirls Flickr
Prep Work. Start the activity in the morning so you can observe the experiment over the course of the day. The activity works best on a sunny day. Flatten both plastic bags and decorate your bags with some elements of the water cycle (water, clouds, sun, etc.) with the permanent marker. Be careful not to poke a hole in the bags with the marker.

Water Cycle in a Bag Playdough To Plato
Step 1: Place the ziplock bag or resealable plastic bag on a flat surface. Using the permanent marker, draw the water cycle on the bag without puncturing it. Step 2: Add a drop of blue food coloring to the ⅓ cup of water and stir it. Step 3: Hold the plastic bag upright and pour the blue colored water into it.
In Honduras you can buy water in a bag r/mildlyinteresting
1. If you have a marker, draw the water cycle on the outside of your bag. The part of the bag that opens and closes should be the top of your drawing. Though this step is optional, it does help visualize what is going on. If you need a model of the water cycle, check out Emily's video. 2.
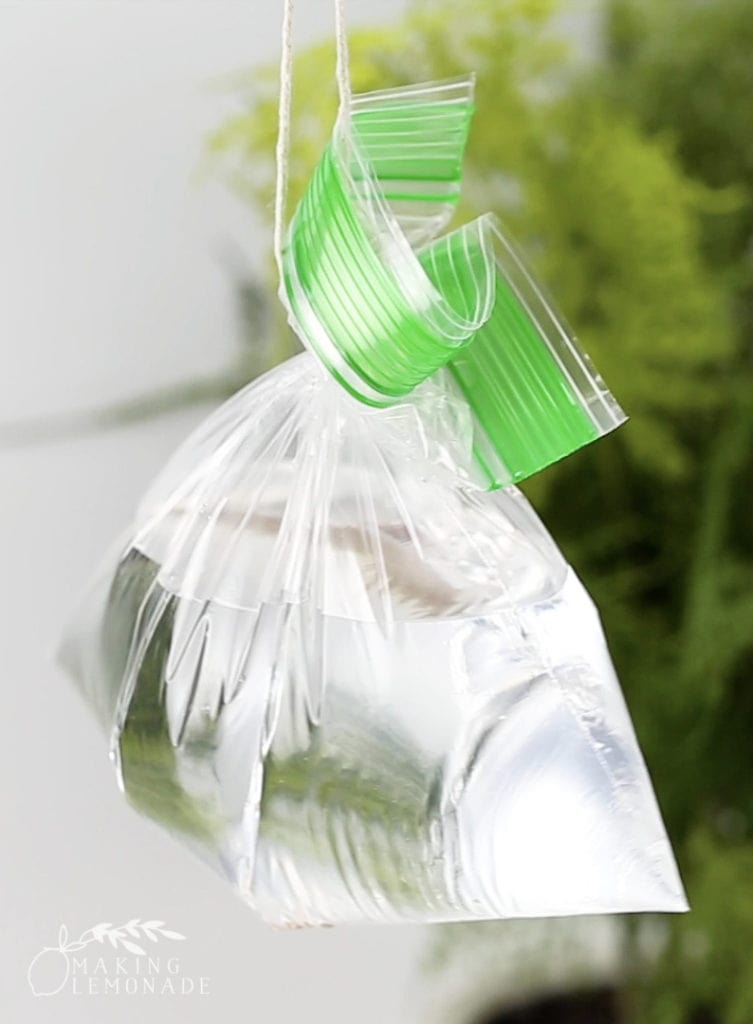
How to Keep Flies Away (with 3 things you have at home!) Making Lemonade
Warm up the water until steam starts to rise but do not let it boil. Add blue food coloring into the water to represent ocean water. Pour the water into a ziplock bag and zip it up. Hang the bag upright on the window (or the door like I did) using packing tape. As the water evaporates, vapors rise and condense at the top of the bag.
